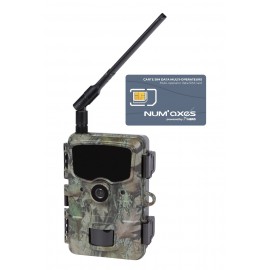
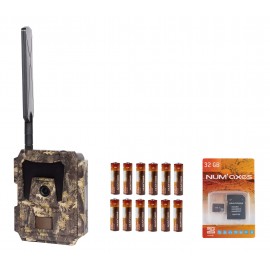
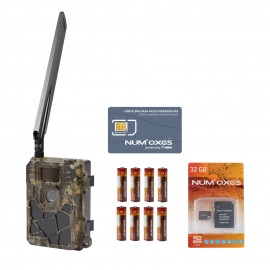
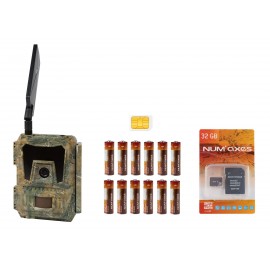
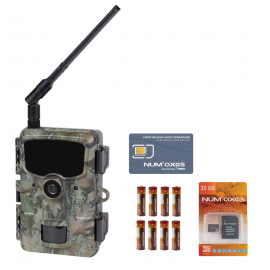
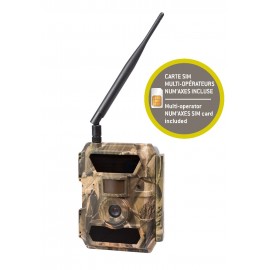
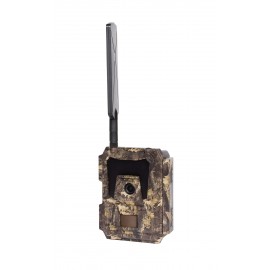
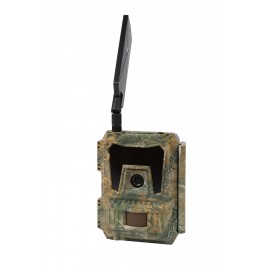
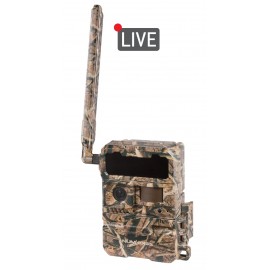
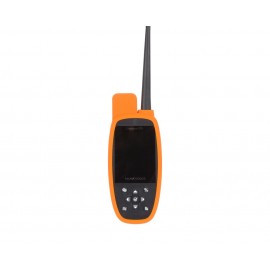
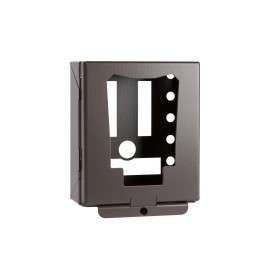
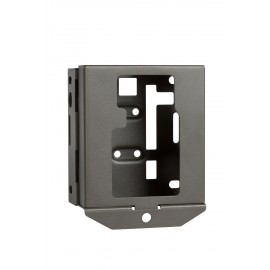
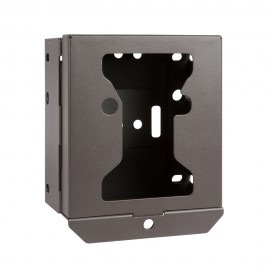
This product is suitable for the following NUM'AXES trail cameras:
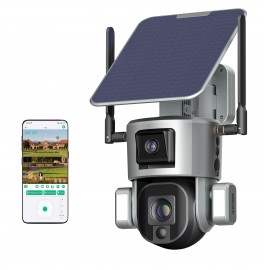
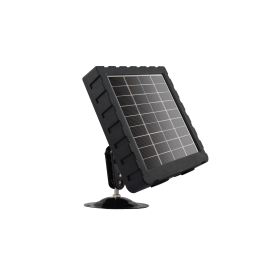
Solar panel installation
- Install the solar panel so that it is directly facing the sun, in an un-shaded position. Generally in the northern hemisphere, this means the panel is facing south.
- Ideally, the solar panel is tilted at a 45 degree angle.
- Do not install the solar panel in a location where the sunlight may be blocked from getting to the panel.
- The sunlight quality plays a key role in the speed of charge. Cloudy days will increase the time needed to charge the built-in battery. The brighter the sunlight, the faster the charge.
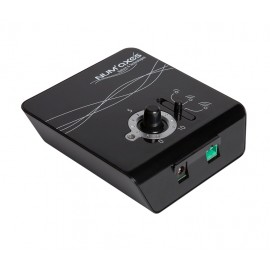
Connecting the solar panel to a trail camera
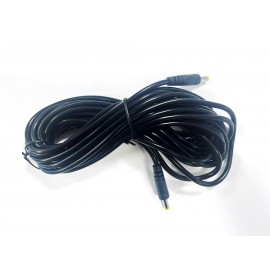
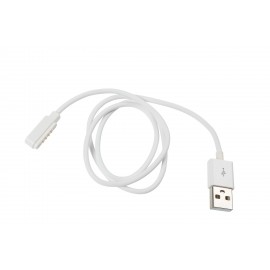
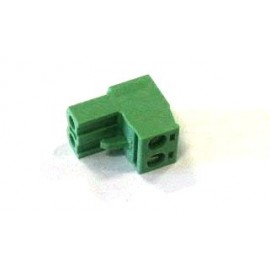
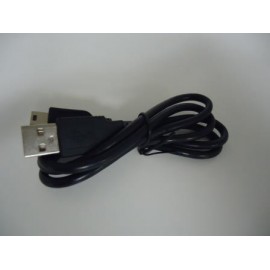
- Plug one end of the output cable into the output socket of the panel (OUT), and then plug the other end of the output cable into the external power port of your trail camera. Press the solar panel ON/OFF button to switch it on. If the built-in battery of the solar panel is charged, the camera will be immediately powered.
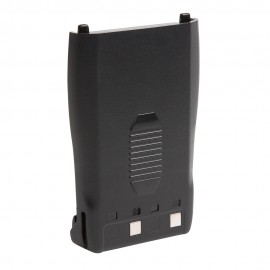
- It is strongly recommended that the batteries be installed inside the camera even when connected to the solar panel. Otherwise, the camera may stop operating due to power shortage. During intensive use of the camera, the solar panel built-in battery may not be charged fast enough, and therefore, it is recommended to equip the camera with batteries for optimal performance.
- If you use the solar panel with devices other than the PIE1023, PIE1037, PIE1046, PIE1051 and PIE1052 NUM'AXES trail cameras, please carefully check your product manual and contact your device supplier to ensure compatibility before connecting. NUM'AXES assumes no responsibility for any damages that may happen with the improper operation of this product.
Charging the built-in battery
It's important to completely charge the built-in battery before using the solar panel. The battery can be charged using sunlight or the supplied AC adapter.
- Solar charging: for best results, place the solar panel in direct sunlight. The sunlight quality plays a key role in determining the speed of charge. Cloudy days will increase the time needed to charge the built-in battery. The brighter the sunlight, the faster the charge.
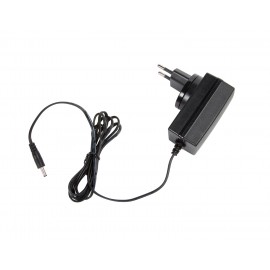
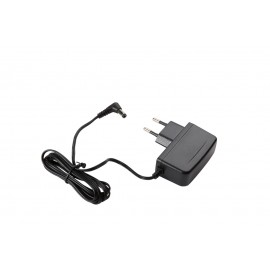
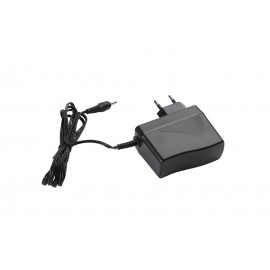
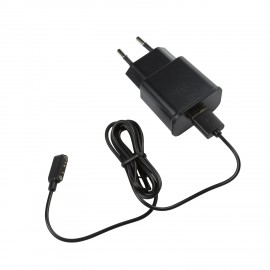
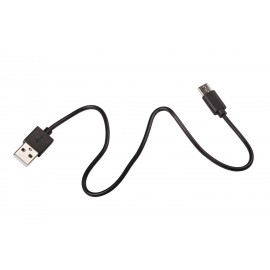
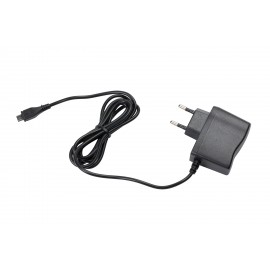
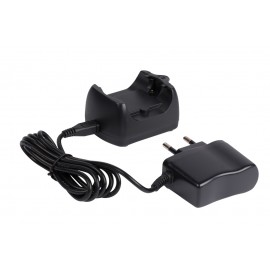
- AC charging: connect the supplied AC adaptor to the input socket of the solar panel (IN). Next, plug the AC adaptor into any standard AC wall outlet to begin charging. Do not use any other AC adaptor than the one provided with the solar panel to charge the built-in battery.