

Showing all 30 results
-

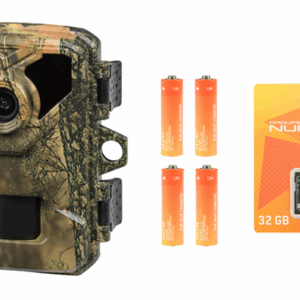
PIE1076 ALL-IN-ONE PACK
139,90 € TTC Add to basket Comparer -

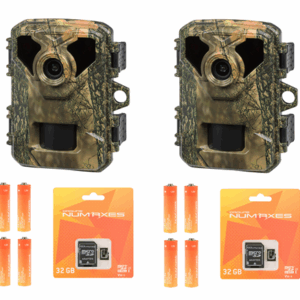
PIE1077 ALL-IN-ONE PACK
169,90 € TTC Add to basket Comparer -

Trail camera – model PIE1076
119,90 € TTC Add to basket Comparer -

Trail camera – model PIE1077 – Wi-Fi function
149,90 € TTC Add to basket Comparer -
Sale!

Cellular trail camera – model PIE1046 – 4G
GOOD DEAL381,00 €329,90 € TTC Add to basket Comparer -

Cellular trail camera – model PIE1078 – 4G
NEW279,90 € TTC Add to basket Comparer -
Sale!

Cellular trail camera – model PIE1052 – 4G
GOOD DEAL269,90 €219,90 € TTC Add to basket Comparer -
Sale!

Trail camera – model PIE1060 – Wi-Fi function – Built-in solar panel
GOOD DEAL255,90 €199,90 € TTC Add to basket Comparer -

Trail camera – model PIE1073 – Dual image sensor – Wi-Fi function – Built-in solar panel
NEW239,90 € TTC Add to basket Comparer -
Sale!

Cellular trail camera – model PIE1058 – 4G
GOOD DEALWEB EXCLUSIVE219,90 €149,90 € TTC Add to basket Comparer -

PIE1058 cellular trail camera + SOL1072 solar panel pack
GOOD DEALWEB EXCLUSIVE179,90 € TTC Add to basket Comparer -
PIE1075 ALL-IN-ONE PACK
NEW69,90 € TTC Add to basket Comparer -
PIE1075 ALL-IN-ONE PACK x 2
NEW119,90 € TTC Add to basket Comparer -

Trail camera – model PIE1066
BESTSELLER82,90 € TTC Add to basket Comparer -

Trail camera – model PIE1075
NEW59,90 € TTC Add to basket Comparer -

PIE1066 ALL-IN-ONE PACK
92,90 € TTC Add to basket Comparer -

3 x PIE1066 ALL-IN-ONE PACK
257,90 € TTC Add to basket Comparer -

Trail camera with built-in solar panel – model PIE1069
179,90 € TTC Add to basket Comparer -

PIE1069 ALL-IN-ONE PACK
194,90 € TTC Add to basket Comparer -

Cellular trail camera – model PIE1061 – 4G
279,90 € TTC Add to basket Comparer -

PIE1061 ALL-IN-ONE PACK
292,90 € TTC Add to basket Comparer -

PZT security camera – model CAM1071 – 4G
NEW549,90 € TTC Add to basket Comparer -

PZT security camera – model CAM1072 – Wi-Fi
NEW279,90 € TTC Add to basket Comparer -

PZT security camera – model CAM1073 – Wi-Fi
NEW499,90 € TTC Add to basket Comparer -
Sale!

Cellular trail camera – model PIE1067 – 4G – LIVE STREAMING
GOOD DEAL299,90 €129,90 € TTC Add to basket Comparer -
Sale!

SPECIAL OFFER – PIE1066 + 6V solar panel
GOOD DEAL150,00 €92,90 € TTC Add to basket Comparer -
Sale!

PIE1046 PACK
GOOD DEAL397,90 €346,80 € TTC Add to basket Comparer -
Sale!

SPECIAL OFFER – PIE1066 all-in-one pack + 6V solar panel
GOOD DEAL160,00 €102,90 € TTC Add to basket Comparer -
Sale!

PIE1060 ALL-IN-ONE PACK
GOOD DEAL267,70 €211,70 € TTC Add to basket Comparer -
Sale!

SPECIAL OFFER – 3 x PIE1066 all-in-one pack +3 x 6V solar panels
GOOD DEAL459,20 €287,90 € TTC Add to basket Comparer